The Timetable Roll Forward functionality enables you to quickly produce a new timetable, in a new session for a specific course, room or staff member. This will replicate the timetable from one session to another.
The new events will be created with the start time and end times for the target resource. The week pattern can be changed to fit the requirements of the new timetable.
To roll forward a timetable:
-
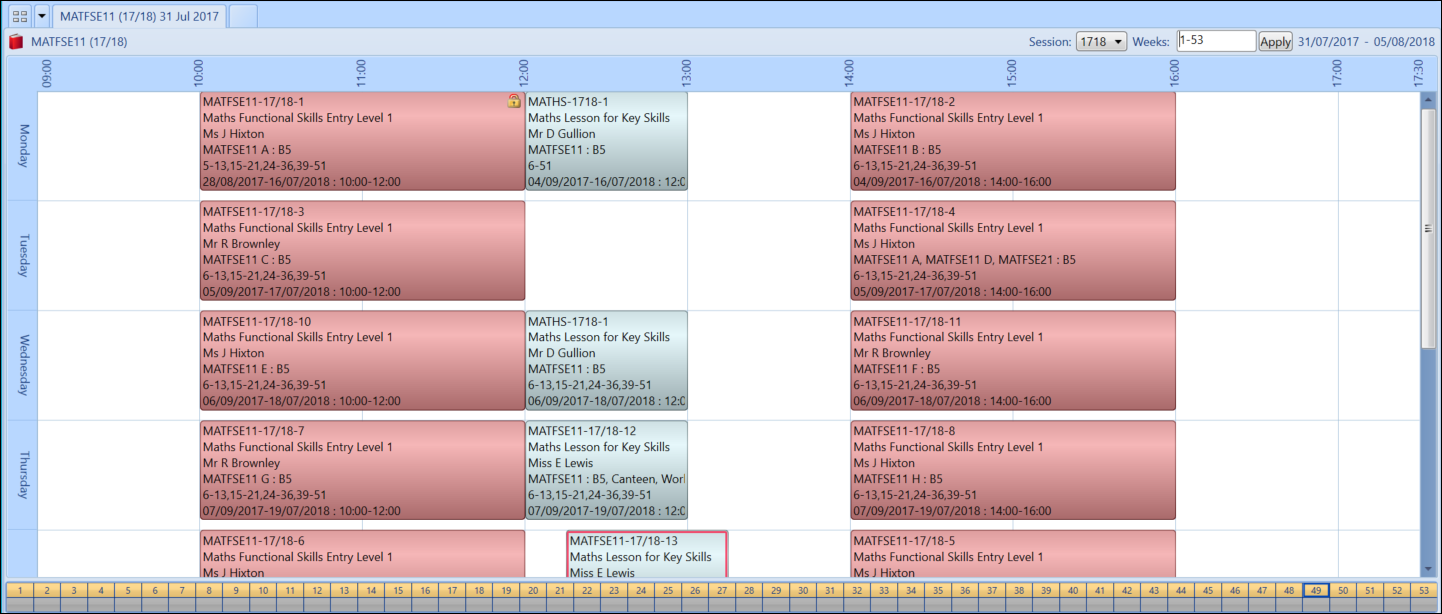
Open the timetable you want to roll forward. See Open a Timetable for further information.
Important.This must be a course, room or staff timetable.For the purpose of this example, a course timetable is chosen as the resource. The same steps can be followed for the other resources.
-
Select the Roll Timetable Forward option from the Timetable menu.
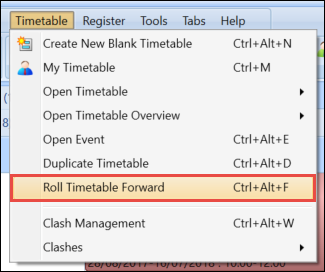
The Roll Forward window will be displayed.
-
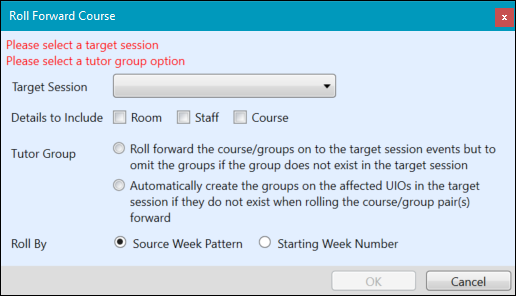
Select the session you want to roll forward to from the Target Session drop-down list.

-
Select the details you want to include in the new timetable by enabling the relevant check boxes against Room , Staff and Course .

-
Select the relevant Tutor Group option to decide what should happen to tutor groups that do not exist against the new occurrence.
Important.This step is only available when rolling forward a course timetable. You must enable one option.
-
Select the relevant Roll By option to decide how the week pattern should be rolled forward.

If Source Week Pattern is selected, the process will look up the week pattern of each source event and then look for a week pattern with the same code in the target session. If there is a matching week pattern, the process will use this to set the active slots for the target events. However, if there is not a matching week pattern, the event is not rolled forward and you will be advised of the event id at the end of the process.
If Starting Week Number is selected, a new field will be displayed called Increment/Decrement by . This field enables you to enter a number for the weeks to be incremented or decremented by.
-
Select OK to begin the roll-forward process.
Important.The OK button will be greyed out until all the relevant details have been entered.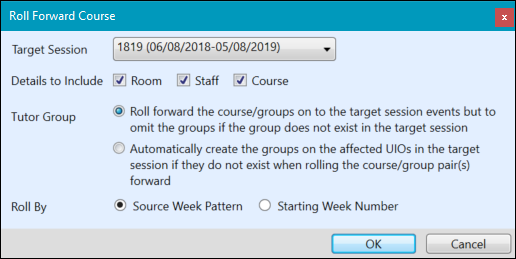
A window will be displayed showing the number of events that will be copied.
-
Select Proceed with this change to begin the roll forward process.
Important.Selecting Do not proceed with this change will cancel the roll forward process.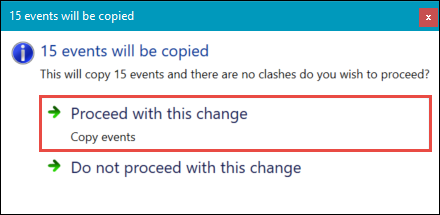
The Roll Forward process will respect the Allow Clashes institution setting, and this setting can affect the process completing.
If the Allow Clashes institution setting is set to Y and the new timetable would result in clashes, then a pop up warning will be displayed showing any potential clashes. See Allow Clashes for further information.
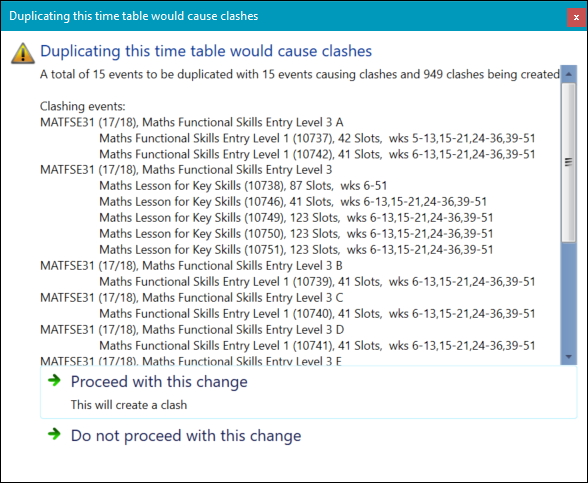
You can then decide whether or not you want to go ahead with the process.
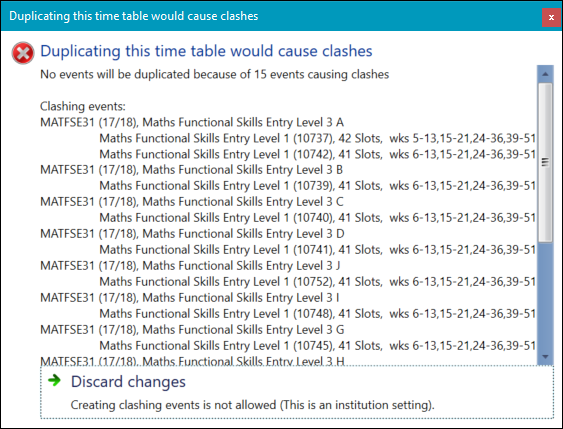
If the Allow Clashes institution setting is set to N and the new timetable would result in clashes, then the process cannot complete. See Allow Clashes for further information. A pop up warning will be displayed prompting you to discard the changes.
When the roll forward process has completed, the new timetable will open in a new tab.
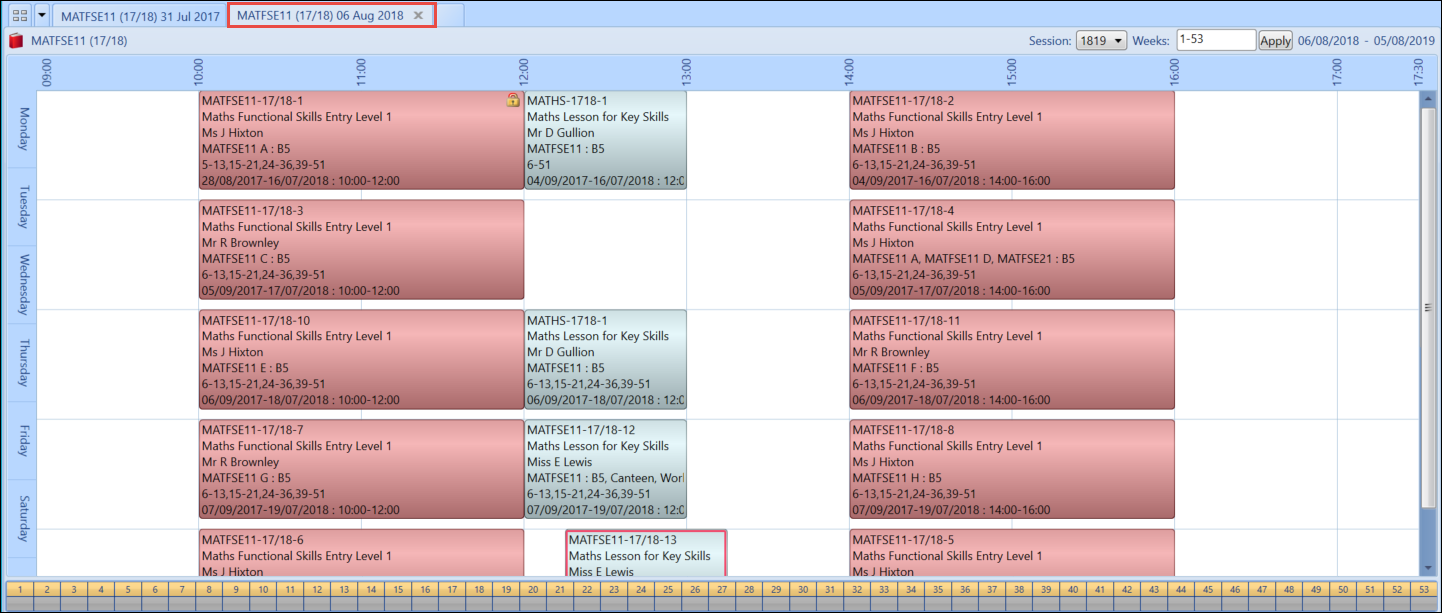
On completion of the roll forward process, the Enrolment to Registers process is automatically run against the new timetable to ensure the relevant learners are added to the events.